Typio is totally accessible without any outside assistive technology required. It’s self-voicing and highly visual right in the browser on just about any device.
But what about using Typio with an external screen reader? Let’s dive in and discover the best approach to making this happen!
Enable Screen Reader Mode
When using Typio with a screen reader, the first thing to do is enable Screen Reader mode.
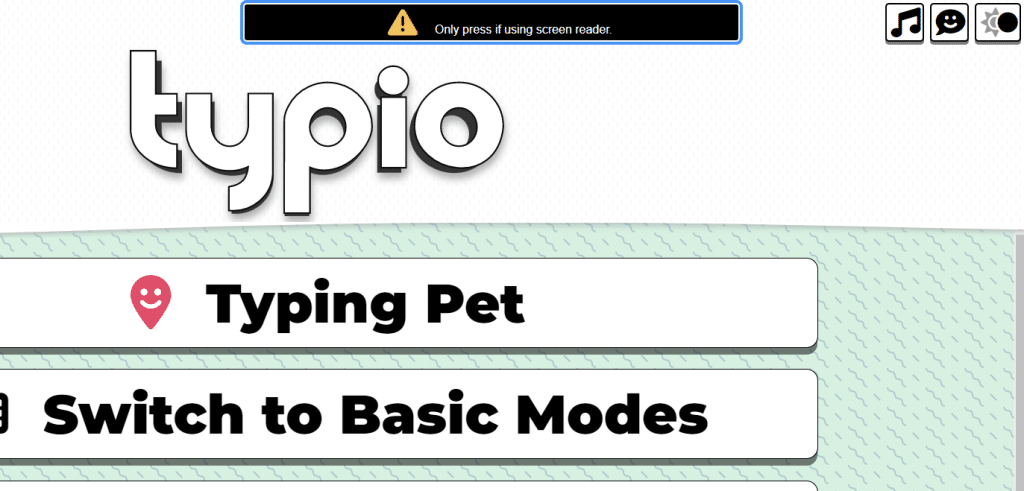
From the Typio main menu, navigate by Button or Tab/Shift+Tab until you land on the ‘Screen Reader Mode’ button. This button isn’t visible unless it’s in focus.
Activate the button and Typio will automatically adapt itself to your screen reader. The most obvious example of this is Typio no longer speaking and instead letting your screen reader do the talking.

Note: The term ‘screen reader’ covers a lot of applications across a lot devices. Screen reader mode may be helpful with other assistive technology as well. For example, switch controllers or a braille note taker device that relies on braille output but not speech. If you use assistive technology that doesn’t play nice with Typio, give screen reader mode a try.
Navigating Typio
Screen reader software typically intercepts keyboard inputs before passing them on to an application. This is especially true in a web browser, which is how you access Typio. So the standard navigation with the arrow keys most likely wont work.
While you can navigate a lot of ways, we recommend button or tab navigation for most screen readers. Typio is designed to flow well with this type of navigation, so there’s no need to worry about missing out on any necessary information.
If you’d prefer to navigate with other methods, that’s also possible. Just use your standard webpage and element navigation, such as the Up or Down arrows on the keyboard or left and right swipes on a touch screen.
Typing Lessons and Tutorials
During typing lessons and tutorials, Typing will ask you to press ‘any key’ or type specific typing prompts. As long as they’ve enabled Screen Reader Mode, Most screen reader users won’t require any additional navigation for their typing to be interpreted by Typio.
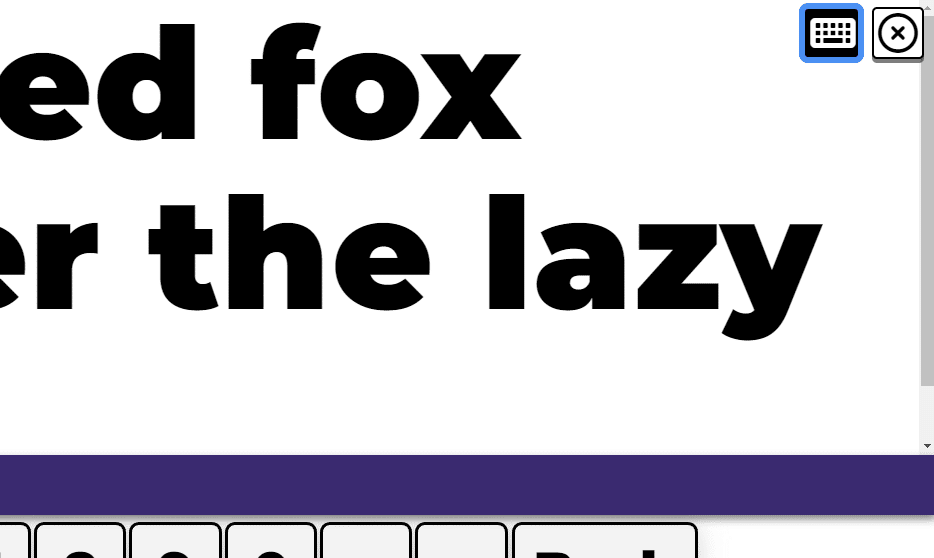
Some screen readers or other assistive technology, such as special keyboards or braille inputs, will require you to activate the ‘Typing Button’. Visually, this button is located in the top right corner and has a keyboard icon. Screen readers will announce this as ‘Typing Button’ along with a brief description.
Once this button has been activated, Typio should be able to interpret the keystrokes from your assistive technology. You should only activate this button if your keystrokes aren’t working during a typing lesson.

Note: The ‘Typing Button’ is also useful for getting back on track if you lose your place. For example, bumping the Tab key may place the screen reader’s focus somewhere else in the browser. Just press Tab until you reach the Typing Mode button again and activate it to get back on track.
Note: If you use assistive technology that processes text before inserting but don’t rely on text-to-speech, such a sighted user relying on a morse code keyboard, the ‘Typing Mode’ button can be used even if you haven’t activated ‘Screen Reader Mode’ from the main menu.
Tips and Notes
- If Typio and your screen reader are both speaking keypresses, you may want to try different verbosity or keypress settings in your assistive technology or change the Keypress setting in Typio.
- If the sound effects in Typio are interfering with your ability to hear your screen reader, try disabling sound effects in Typio’s settings.
- While all of the Accessibyte apps include built in accessibility, were always fine-tuning how well Typio plays with outside assistive technology. If you have any issues, we recommend falling back on Typio’s included accessibility.
- We’re in the process of brining Typio’s simple screen reader flow to our other apps. Stay up to date on that news by following us on social media or signing up for our mailing list.
